How to Install a Bee Package

The most frequent question I get this time of year, is how do you purchase bees? If you are interested in beekeeping, then you need to start all your work and preparation during the winter months. Typically this involves purchasing all of your hive equipment and also placing an order for your bee package well ahead of time. Bees are typically delivered for local pickup on a prescheduled day in April or May.

A bee package is simply a small wooden container with wire screen sides which contains a small food supply, a caged mated queen and about 3 pounds of worker bees.
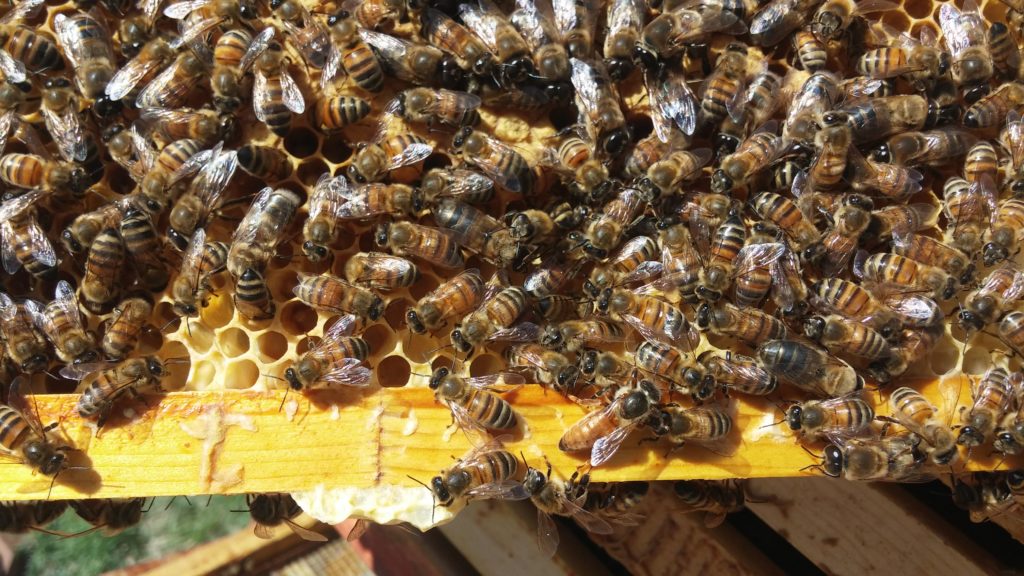
This package of bees probably contains about 10,000 workers bees and is enough to begin a new colony.
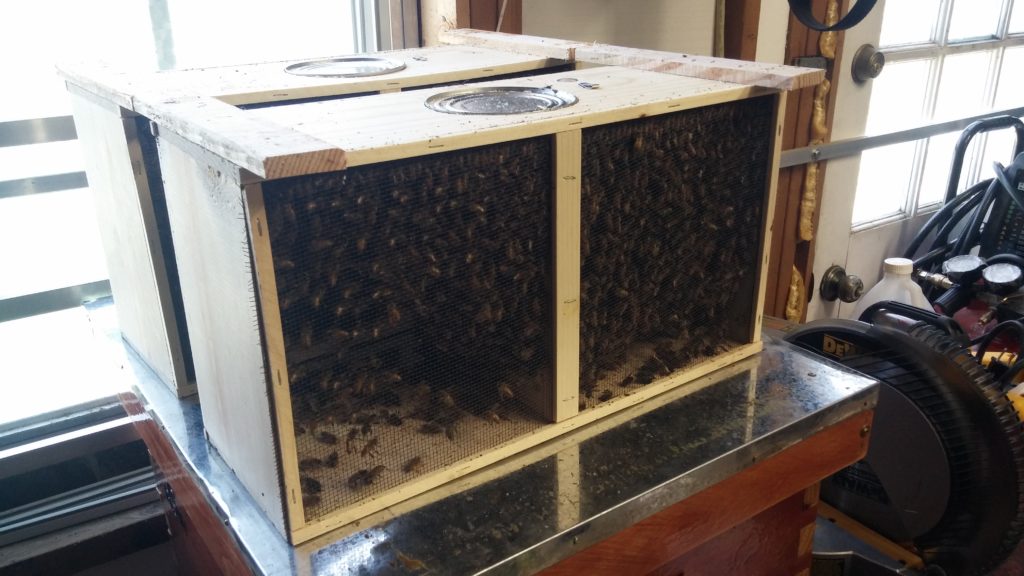
The package of bees is fairly durable and can survive sealed in its current state for about 48 hours. However it is extremely important that the bees are kept in a well ventilated and comfortable temperature. If I am keeping bees inside the package because of bad weather, I will keep them inside the house and twice a day lightly spray them with a sugar and water solution. Obviously the sooner you can get the package installed into the hive the better.
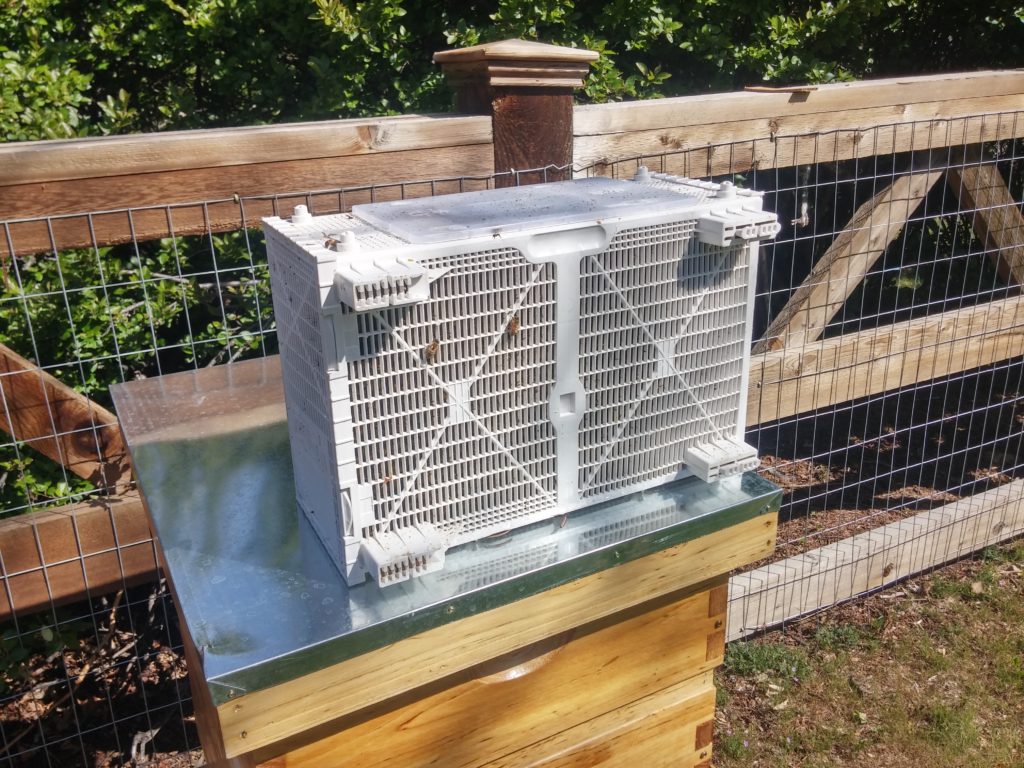
The day you install the package of bees should be a calm day with good warm temperatures. If you must, you can install the bees on a cold cloudy day but if the weather is better in 24 hours, I would wait. It will be better for the bees and more fun for you.
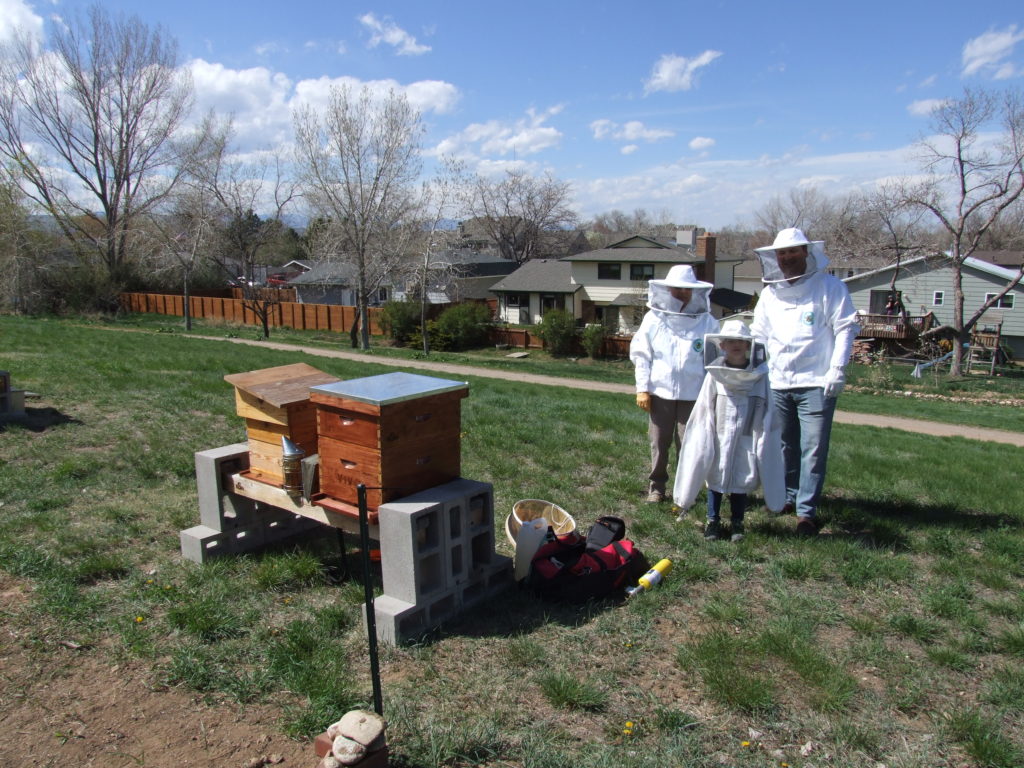
You should already have prepared the new hive for your bees to move into. Remember you cannot move the hive for the next month so make sure to have the hive in a good spot. If you are using a Langstroth hive design, we will only be working with the bottom deep brood chamber.

Prepare the hive and make sure that everything is ready to install the bees. When you finish installing the bees you want to immediately close the hive up and let the colony begin to organize. Once you dump the bees into the hive there is no going back so make sure everything is ready.
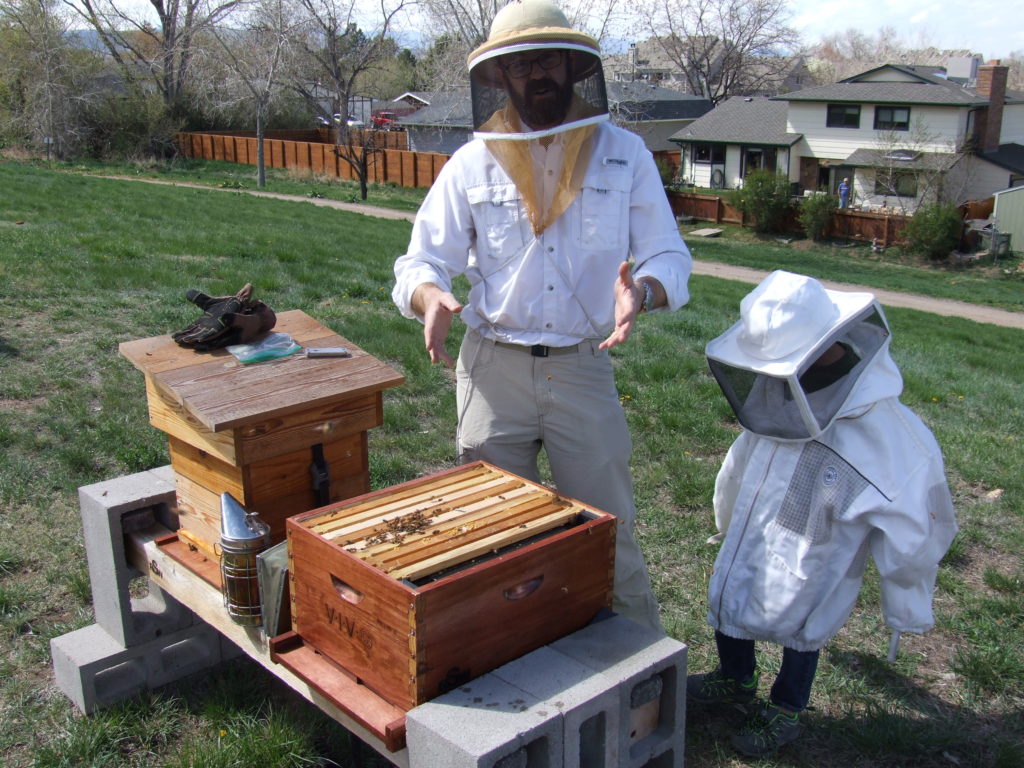
Suit up and get ready to install your bees. Begin by carefully removing the metal can of sugar water that is closing up the box of bees. Carefully and slowly lift the entire can of sugar water out of the box. Do not be concerned about the bees that fly out. Then you will carefully remove the queen cage that has a metal tab and is slotted into the wooden box. Once you have the queen cage out, place a rag or small piece of cardboard over the bee package opening to keep the bees inside the box.

Take the queen cage over to your hive body and begin to gentle nudge the bees off of the queen cage. Do not wipe the wire screen with your finger as it could damage the queen bee’s legs. Then you will gently pry the cork out of the opening in the end of the queen cage. And in one controlled movement press a marshmallow into the opening.
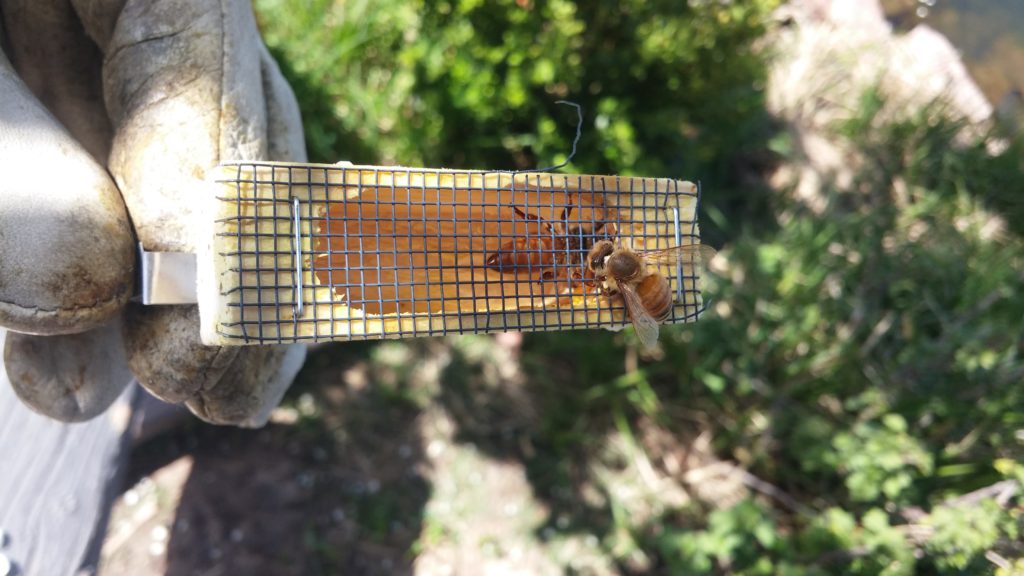
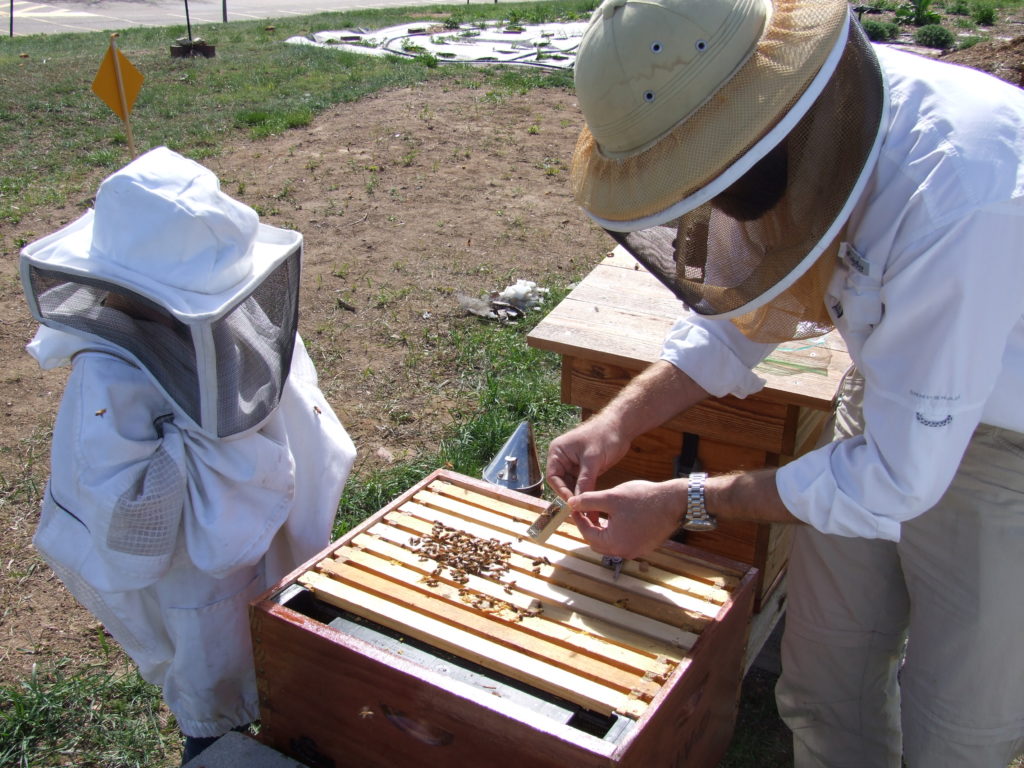
Then take the queen cage over to the hive body and hang the queen cage on one of the frames with the marshmallow opening facing downwards and the wire screen facing open space. The nurse bees will feed the queen through the wire screen. Unfold and use the metal tab as a hanger over the wooden frame.
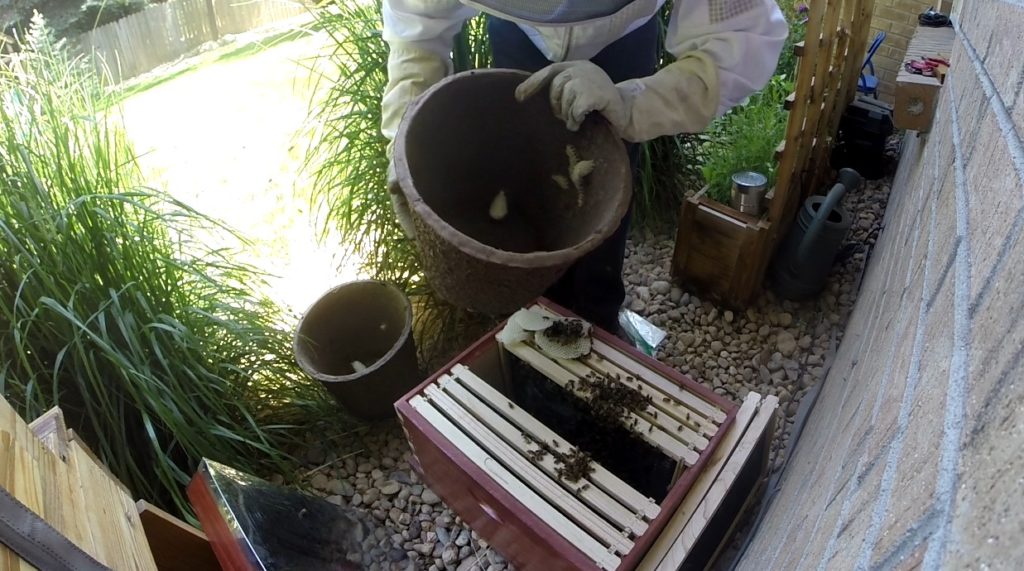
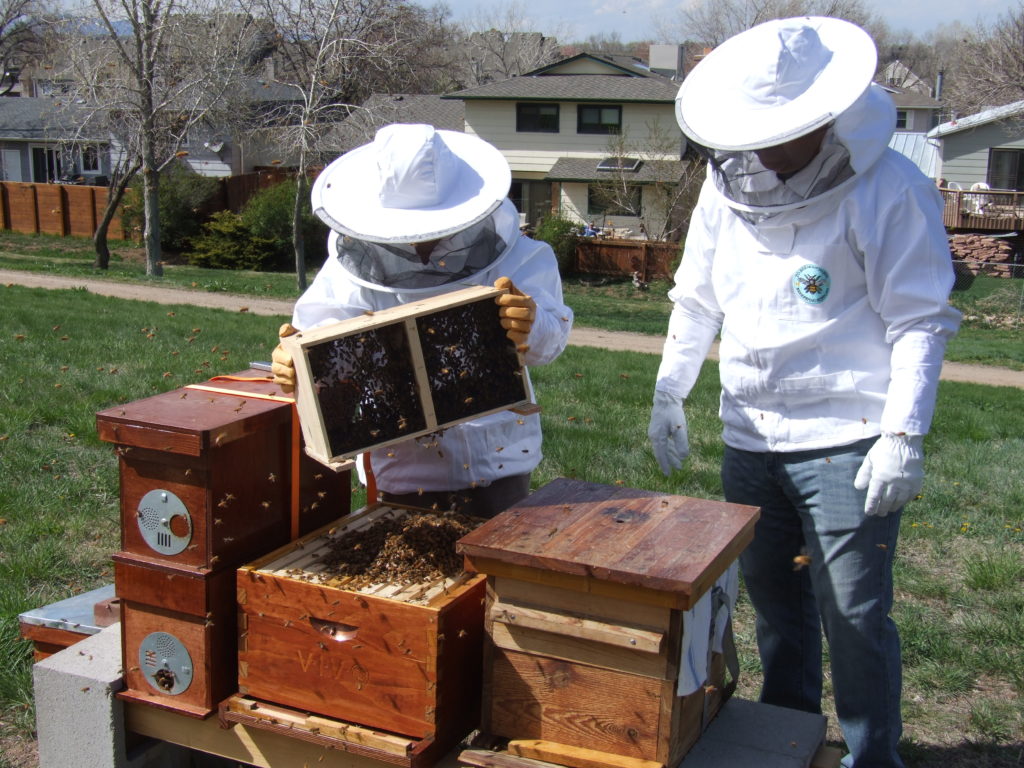
Once the queen is secure then comes the fun part. Take the wooden package of bees with one hand on either side and in a sequence of controlled and swift movements, over a distance of about 2 inches firmly slam the wooden box onto the ground twice. This will make all of the bees fall into the bottom of the box. Then immediately upend the box and with a side to side rocking motion dump the bees out of the box directly on-top of the open hive body. Then repeat a couple of times. Finally you can rest the mostly empty box to the side and the bees will find their new home by themselves.
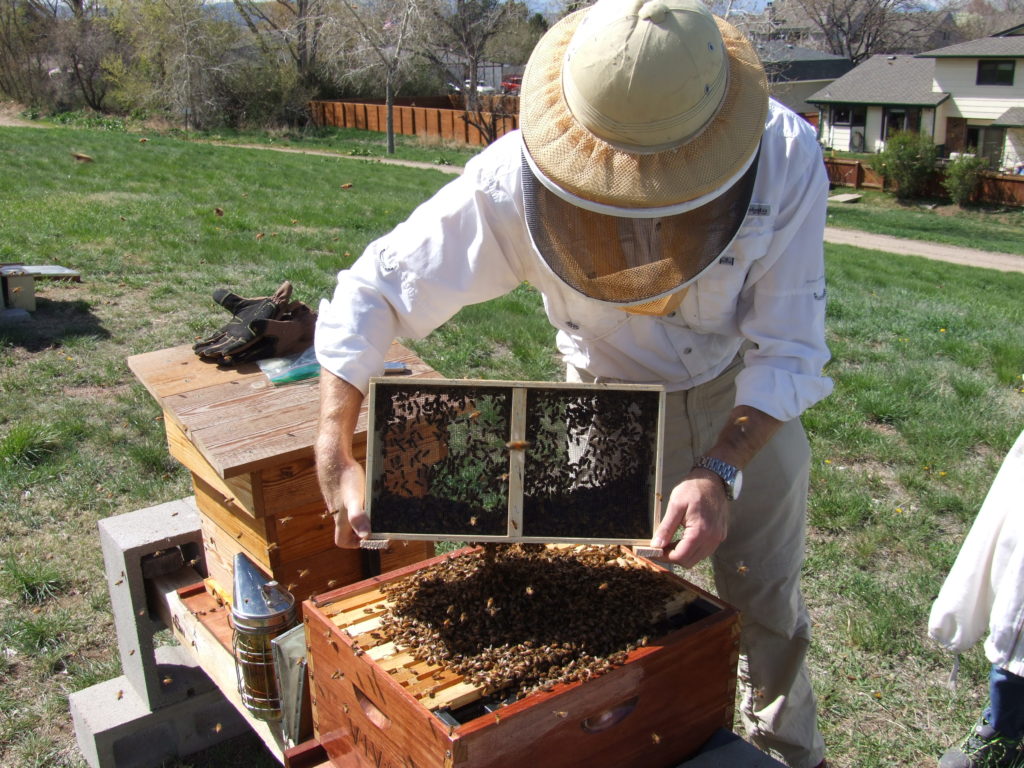
As soon as possible, I would put the hive body cover on the brood box. The bees will already be moving into the hive body between the frames. Give them a few minutes. Then gently place the cover over the hive. I like to hold the cover about 1/4 inch over it’s resting place and wiggle the cover around in a small circle. This gets the bees to clear the area and you can lower the cover all the way down without crushing too many bees.
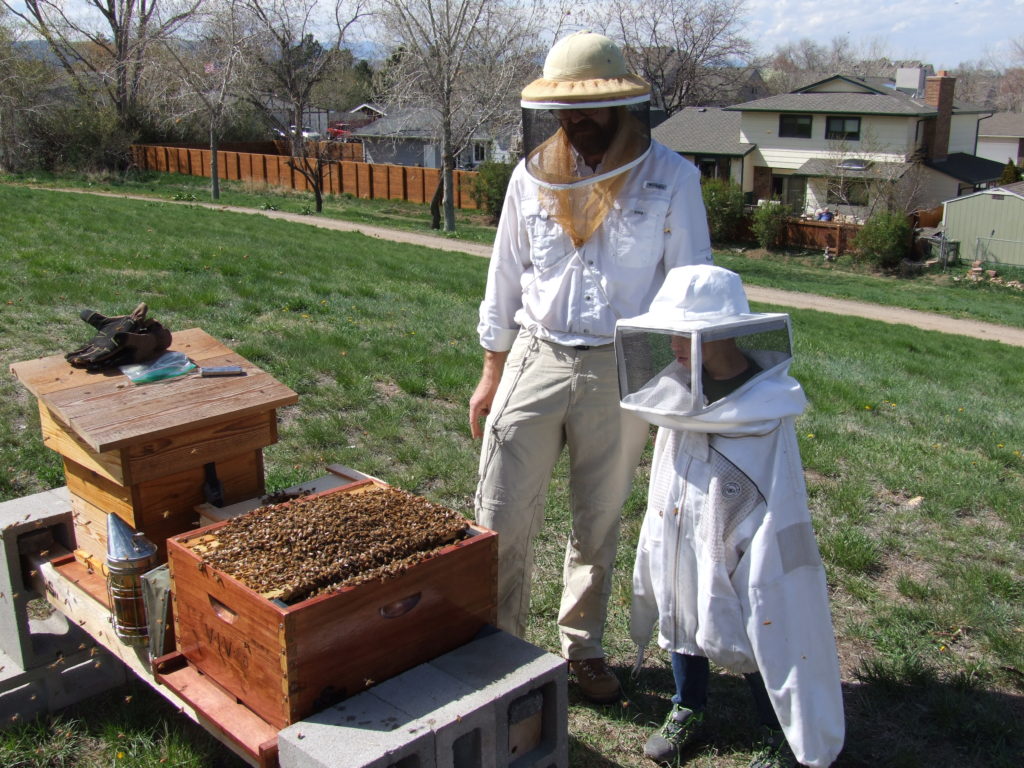
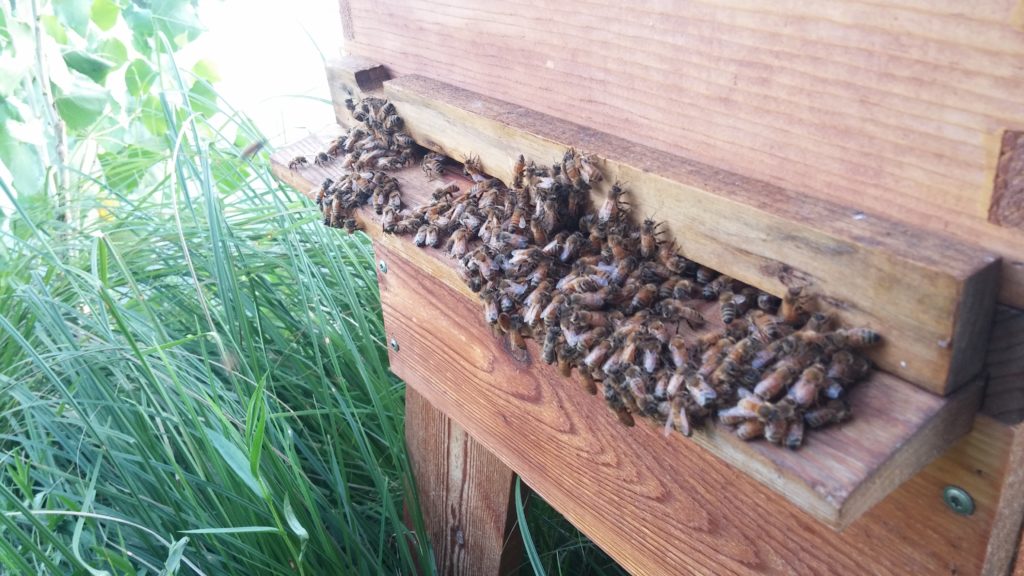
Make sure to open the entrance wide so that the bees can fan the queen pheromone. The bees remaining outside the hive should begin to march into the entrance and start to make order of their new home. After about 20 minutes most bees should be inside the hive. Then you should close the entrance down to the smaller option on your entrance bar.
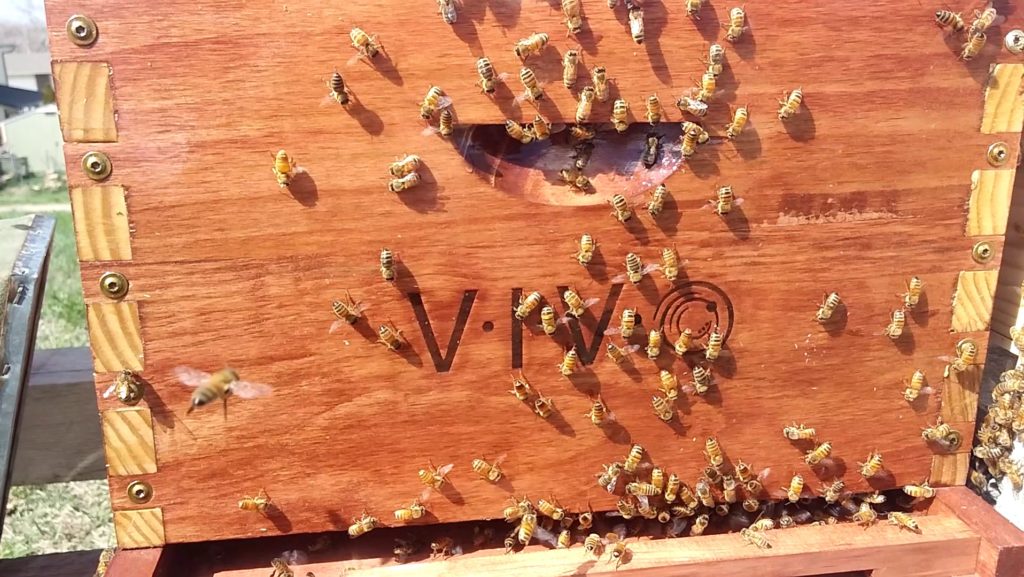
I usually stick around for awhile just to make sure the activity in front if the hive is settling down and looking normal. What you do not want to see is bees pouring out of the hive and bearding on the entrance. That would be bad.

About 1-2 days later depending on when the weather allows, I open the hive up to check on the queen. I usually do not use smoke during this first inspection. The new bee colony probably do not yet mind you opening them up and I do not want to disrupt all the important work that is underway. What you would like to do, is very carefully and slowly move the queen frame aside and inspect the queen cage. The queen should have been freed and is now somewhere in the hive. With so many disorganized bees and a disorganized hive, I do not yet attempt to find the queen. Remove the empty queen cage and put the hive back together very carefully. We do not know where the queen is so be extremely careful.

If the queen is not yet freed from the cage, go ahead and remove the candy plug and let her escape into the hive. Do this work directly over the hive so she does not fall onto the ground. Simply remove the candy plug and place the cage on the frames, she will crawl out and go down into the hive.
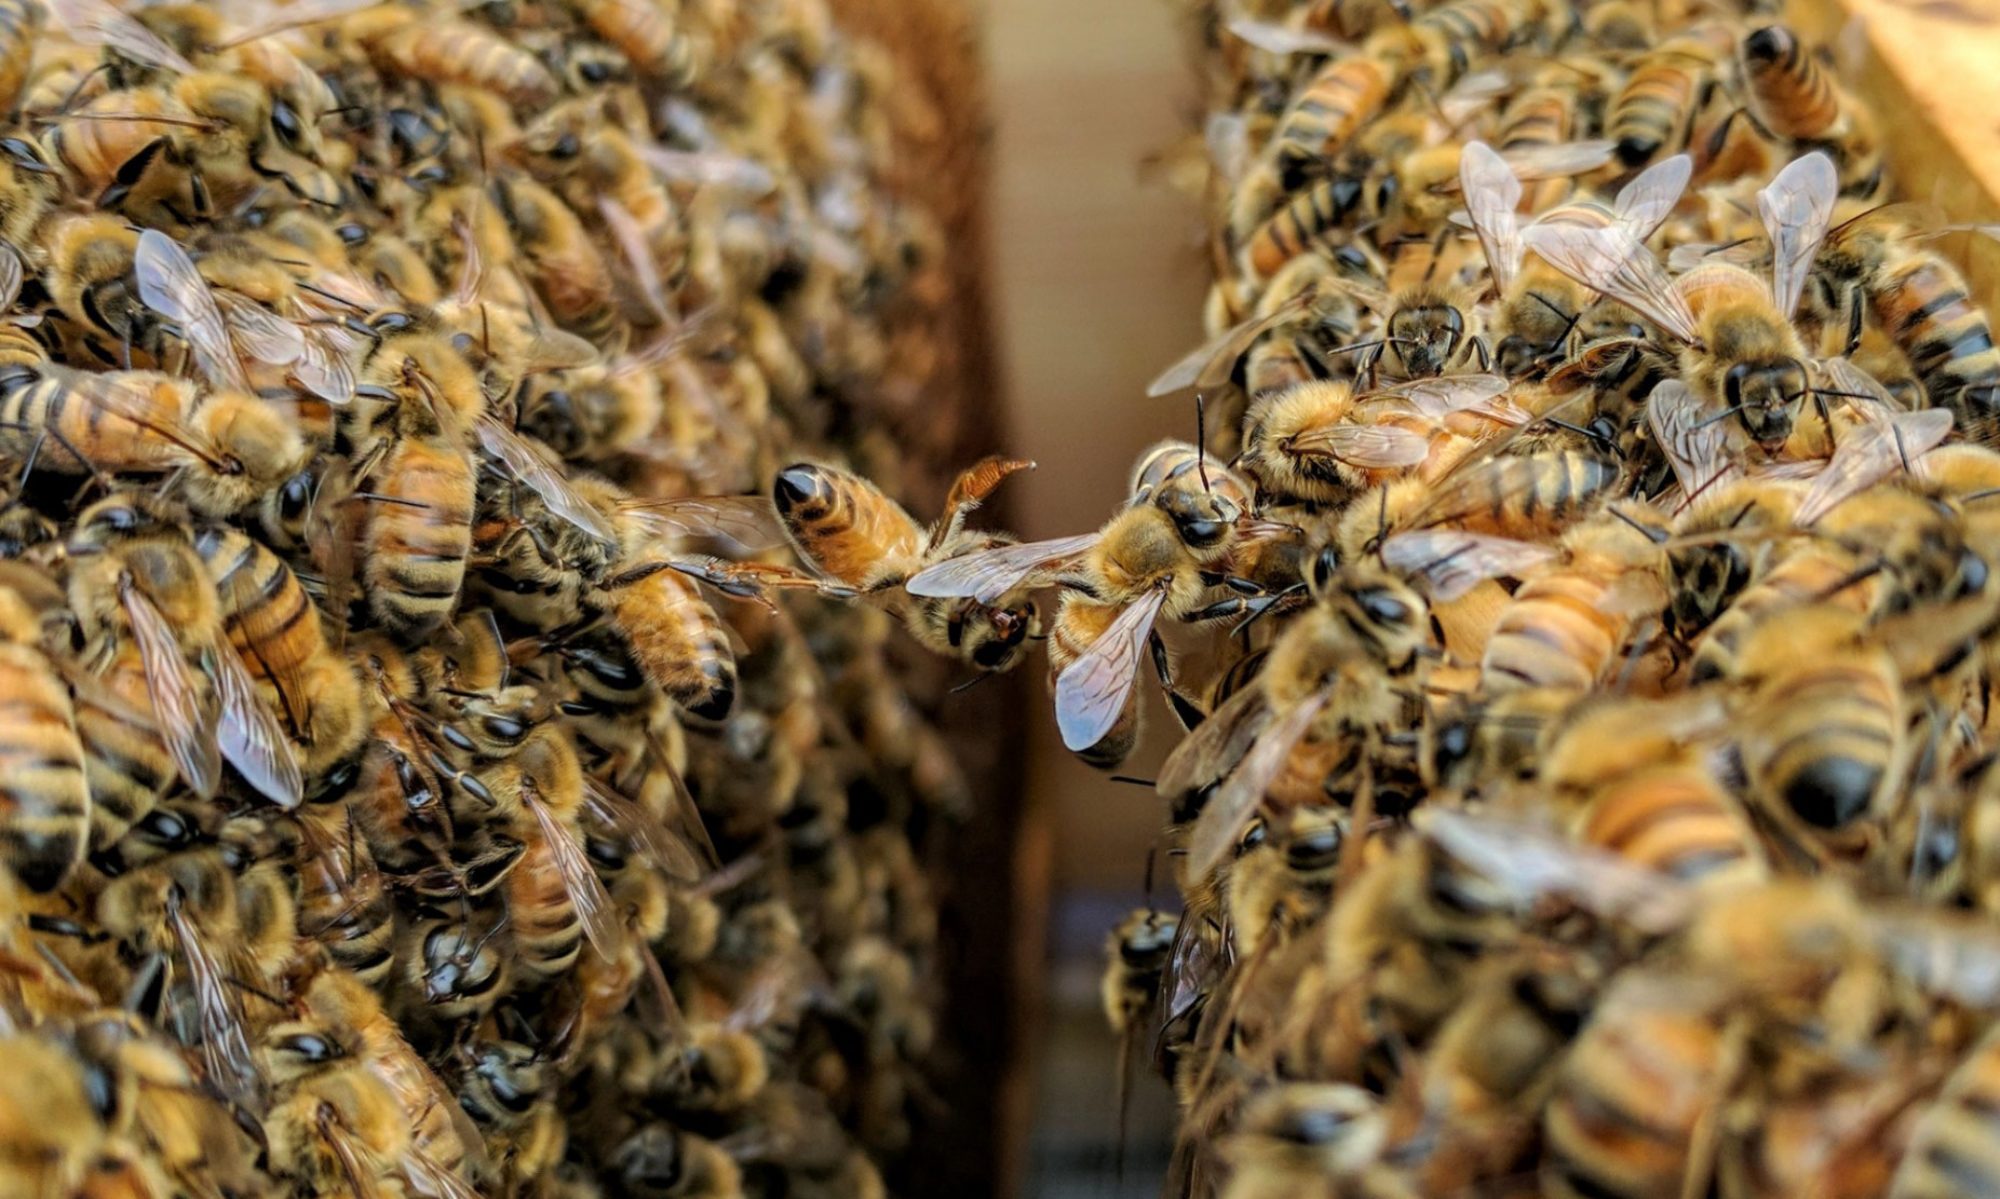
Let’s Begin. . .

Be adventurous. Be curious.

Lets’ explore something that few people know about. Let’s dive in to something which sounds scary. Let’s discover a new world. Beekeeping provides an amazing opportunity to learn about a wonderfully complex and entirely foreign system of life.

Bee Package – Checks

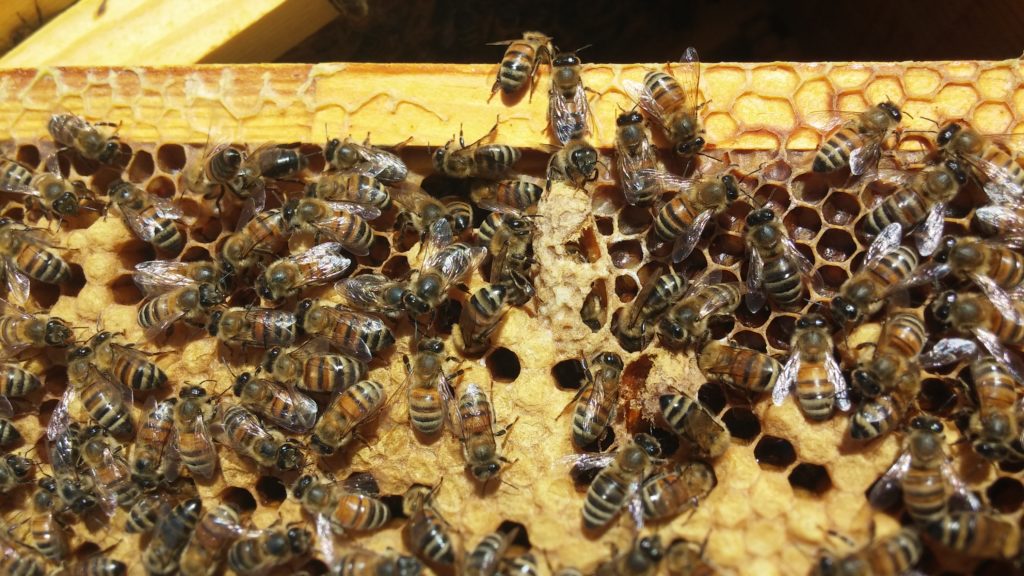
24 hours follow-up on the installed bee packages went well. Both queen had escaped the queen cages and the bees were building comb. Entrance activity was normal with pollen coming in. I was able to bring more built frames to checkerboard into both hives. Making sure to provide some capped honey and comb for immediate egg laying.

One remaining unhatched queen cell was still viable from the previous WildCA18A mother colony splits. This unhatched queen cell was cut out of the comb and added to a a new split of bees and comb from the still active WildCA18A mother. Two frames of brood and two frames of food were removed from WildCA18A mother colony and put into a starter colony box. This box was sealed and moved into a protected area for the next few days during the upcoming snow storms.

Catching Swarms

Catching swarms is all about helping the wild bee populations and getting free bees. By definition, a swarm caught in early spring has survived the winter months and are adapted well to surviving the local environment. Wild bees typically display desirable traits such as mite resistance and cold tolerance. However sometimes this comes at the potential cost of low honey productivity or more aggressive behavior. Regardless of their behavior, giving wild bees a safe home is great for the local bee population and over time could improve your bee yard genetics.

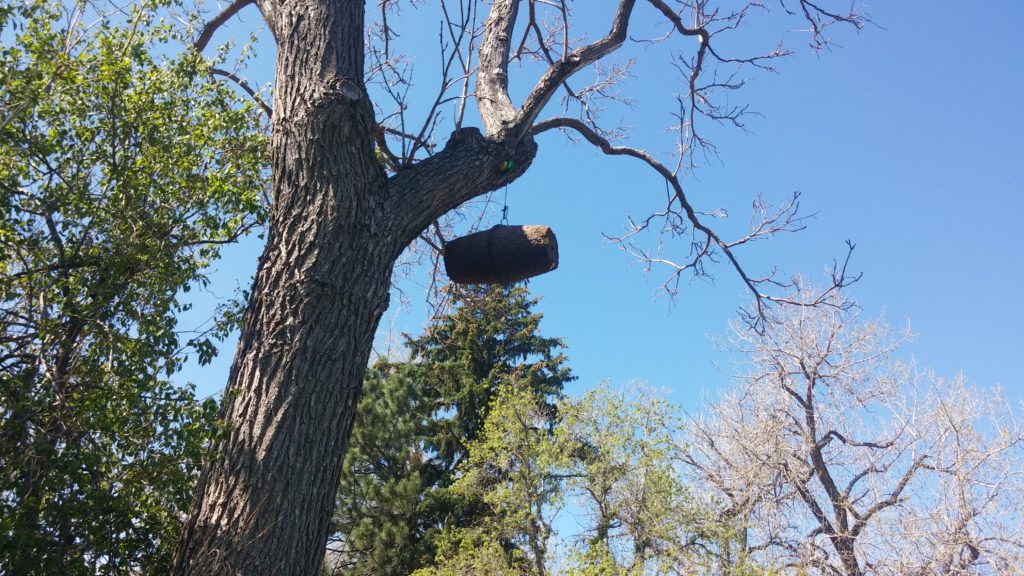
A swarm catcher is simply a small box that can be hoisted up into a tree and lowered down when the bees move in. Positioning of the swarm trap is critical as well as baiting the box. Timing is also critical. In Denver, swarms usually begin when the nectar flow begins. This changes from year to year, but is usually the first nice week of May.

I will typically look for wild bee colonies in the area before choosing a location for my swarm box. If you find a local wild colony then typically it is a good idea to place your swarm trap up in a tree roughly 100 yards away. Even better if the tree faces an open field and water is nearby.

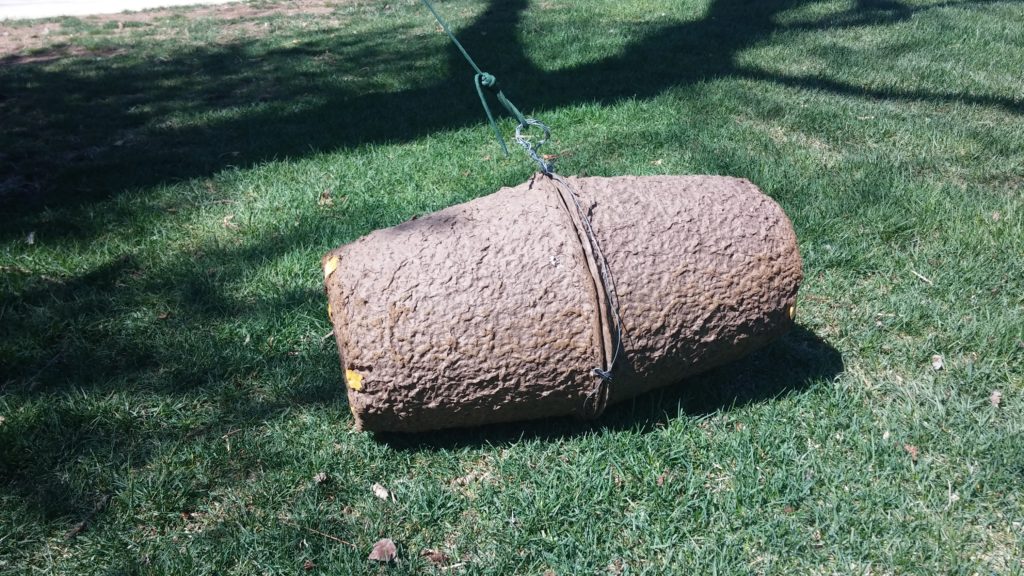
The swarm trap itself is simply two horticultural paper pulp pots wired together. Make sure to close up the drain holes and provide only one hole as the entrance.
I have had great success with this style of trap. There are tons of different swarm trap designs that you can use.


You will also want to bait the inside of the swarm trap with both a scent and some old honey comb. Any old honey comb will do just fine. The best comb for swarm traps is dirty smelly and old. Then I usually use about three drops of lemon grass oil. Make sure to reapply the lemon grass oil each week or so. If you can smell the lemon grass oil the bees can most certainly smell it.

If you are lucky a swarm will find your trap and make it their temporary home. You need to make sure and move the swarm to a permanent hive immediately. Otherwise the swarm could decide to leave or the hive could begin to build comb.

Installing the hive is as simple as opening the swarm catcher and dumping the colony into a hive body.

Checking Splits

Splits were started on April 14, 14 days prior. Did a quick check looking at the queen cells to see if any queen have emerged. Queen cells were opened and some had been destroyed. Found virgin queens in both splits. Brood was sourced from WildCA18A. Hopefully calm genetics will be passed on. Mating flights will occur next week. Hopefully bad weather does not interfere. Splits are located next to drone populations with genetics from calm hives.

Bee Package – Install

Temperature was in the upper 60s and the wind was light to moderate. Bees were installed in a single deep Langstroth brood chamber. Install went just fine. Bees were sourced from ApisHive.com. Used filled out frames and some undrawn frames from previous year to help start colonies.

What is a Bee Swarm

In my opinion this is one of the coolest things that bees do. Partially because a swarm is a highly visible and spectacular display of bee behavior. But mostly because free bees are awesome. Basically, swarming is where the queen bee leaves the colony and takes about half of the population with her. The queen flies away with half the colony and goes out into the world to find a new home.

Swarming is how a honey bee colony reproduces itself. Typically in the spring the queen bee will begin to dramatically increase the number of eggs laid. the number of eggs laid is directly correlated to the increase in resources being brought in from the outside world by the forager bees. Eventually the number of bees in the hive becomes so abundant that the colony begins the process of swarming. The genetics of the bee colony and the number of available resources will determine how likely a colony is to swarm.

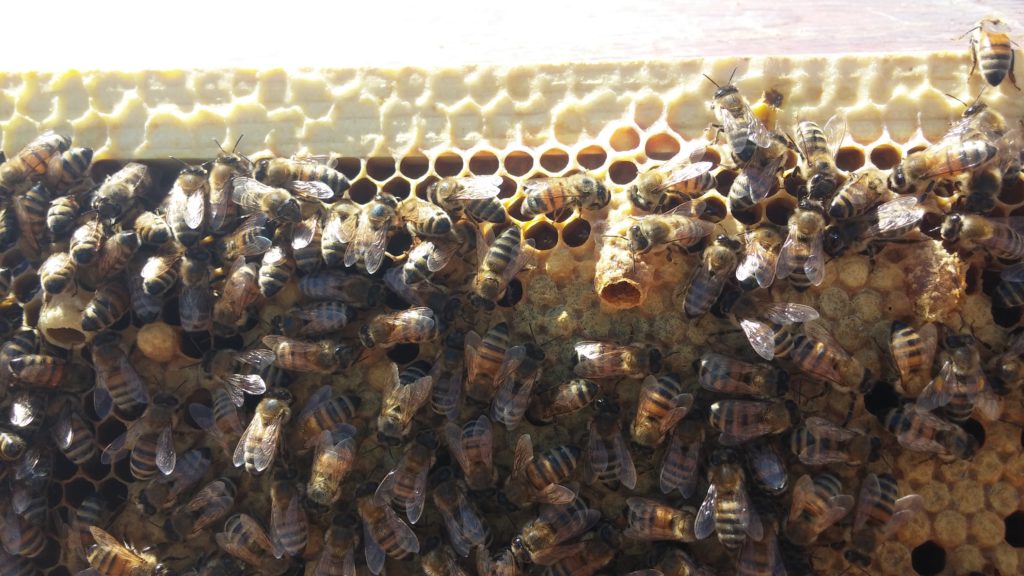
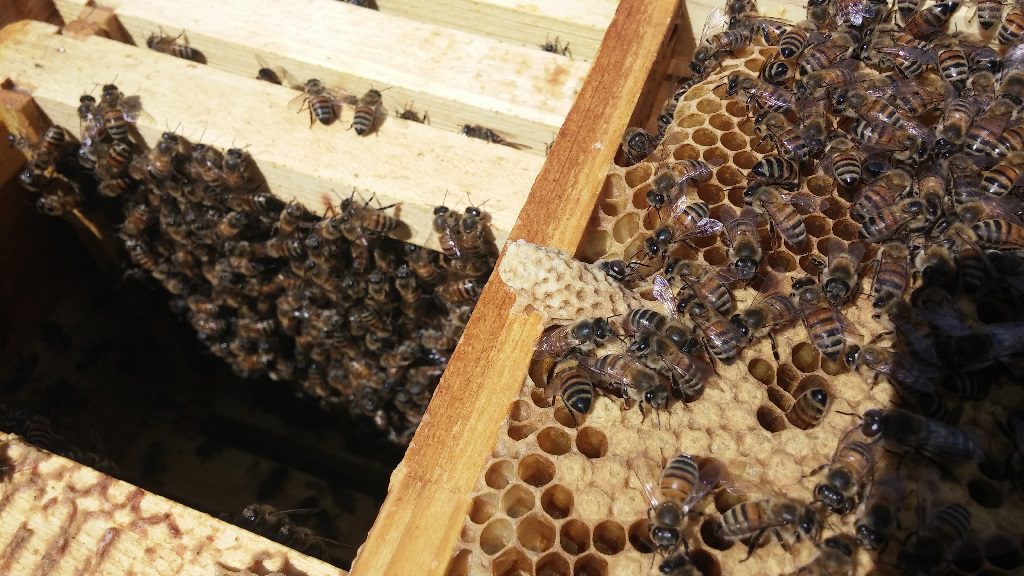
Inside the hive the process of swarming begins with the formation of a new queen bee. The worker bees begin to create swarm cells where a new queen bee will be raised. Swarm cells are usually on the bottom of a brood frame pointing downward. These cells in the picture are actually emergency queen cells. Deep inside the larger queen cells are larva which are being fed an exclusive diet of royal jelly.

Eventually the swarm cells will become capped which is a sign that the colony is very close to swarming. Other signs as well will indicate that a colony is thinking about swarming. In the spring you will also see a huge increase in the number of drone cells. The drones are required to fertilize the new queen so we need plenty of them around.

Then eventually the day comes where the original queen will leave the hive. For several days the nurse bees have been restricting the diet of the queen and running her around the hive. The queen must be loose body mass for her upcoming flight. Usually the same day that the new queen will hatch the original queen leaves the hive. The queen will fly out and approximately half of the hive will leave and follow her on the journey.

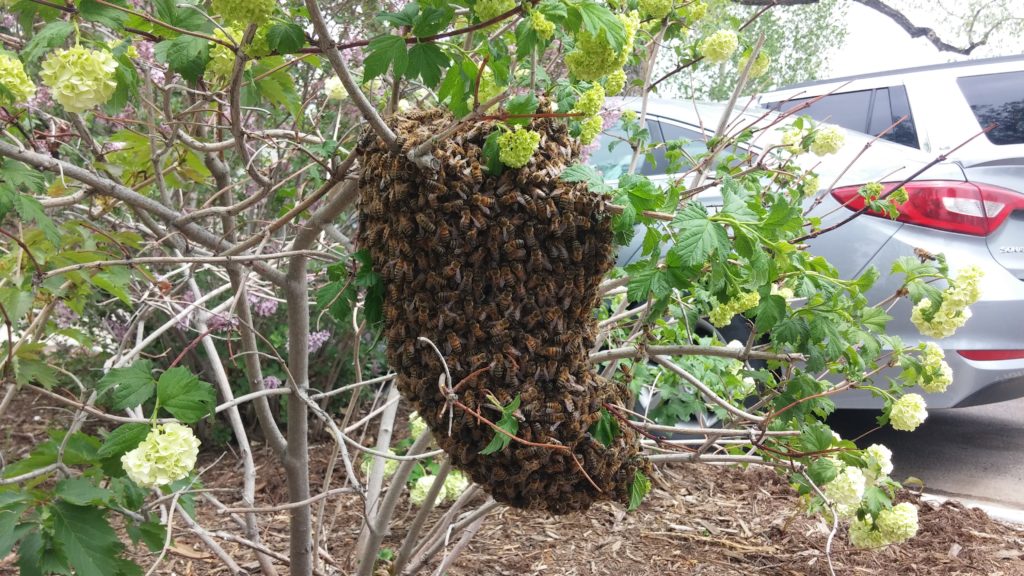
The queen lands so that the colony can rest for a short period of time. The group of bees that left with the queen will surround her and form a huge scary looking ball of bees. A hanging swarm looks scary and intimidating but in reality they are very unlikely to sting and just need a place to organize. It is in this condition that the bees can be transported and moved into a new hive.


While hanging from a high tree branch or small shrub there are hundreds of scout bees looking for a new home. It can take hours or sometimes days for the scout bees and the colony to agree on a new home. It is during this period of transition where a bee keeper can quickly swoop in and give these bees a new home. The swarm is either shaken into a box or the tree branch can be cut. The bees are transported back to the bee yard in a box and the colony can be introduced into a new hive body.

For a bee colony, swarming is an incredibly dangerous and counter-intuitive behavior. In the spring the colony is a safe and productive environment. Hundreds of bees are hatching every day and resources are pouring in. The hive is functioning at it’s best and only getting more productive. Then suddenly the queen decides to leave and flies into the big dangerous outside world. Putting herself and the original colony in potential jeopardy. But this behavior is required for the genetic distribution of the species. Just as plants devise methods of dispersing seeds long distances, the honey bee evolved behavior to spread their genetics as well.

Installing Bee Packages.

On Saturday April 27, we will be installing new bee packages into our hives. Please join us at the campus around 2:00 pm. Come learn about how to setup a new bee colony and enjoy the process.

Come as you are with no requirements. This will be a Bring Your Own Bee Suit (BYOBS) event but bee suits are not required. You and can participate as much or as little as you are comfortable with.

See you then,

Checking Splits

Checking on 2 of the splits from the WildCA18A colony. All queen cells are capped but still remain unhatched.

Cut and removed one of the capped queen cells. Evenly splt 10 frames from the WildCA18B colony into 2 separate 5 frame Nuc boxes. Isolated the queen in the lower Nuc box. Placed a queen excluder between the 2 Nuc boxes. Installed the unhatched queen cell into the upper box.